Summer, to me, was the height of my sons’ little league when they were growing up. That means, I was on call, to head the outdoor cooking team. The coaches, parents, and even kids liked the spicy flavors of India especially anything grilled. They thoroughly enjoyed the spicy tandoori chicken, steaks, and leg of lamb.
For me, the warm memories of fire, smoke, sizzle, and smell are all part of informal dining – whether with family or friends or when I taught a class on tandoori cooking.
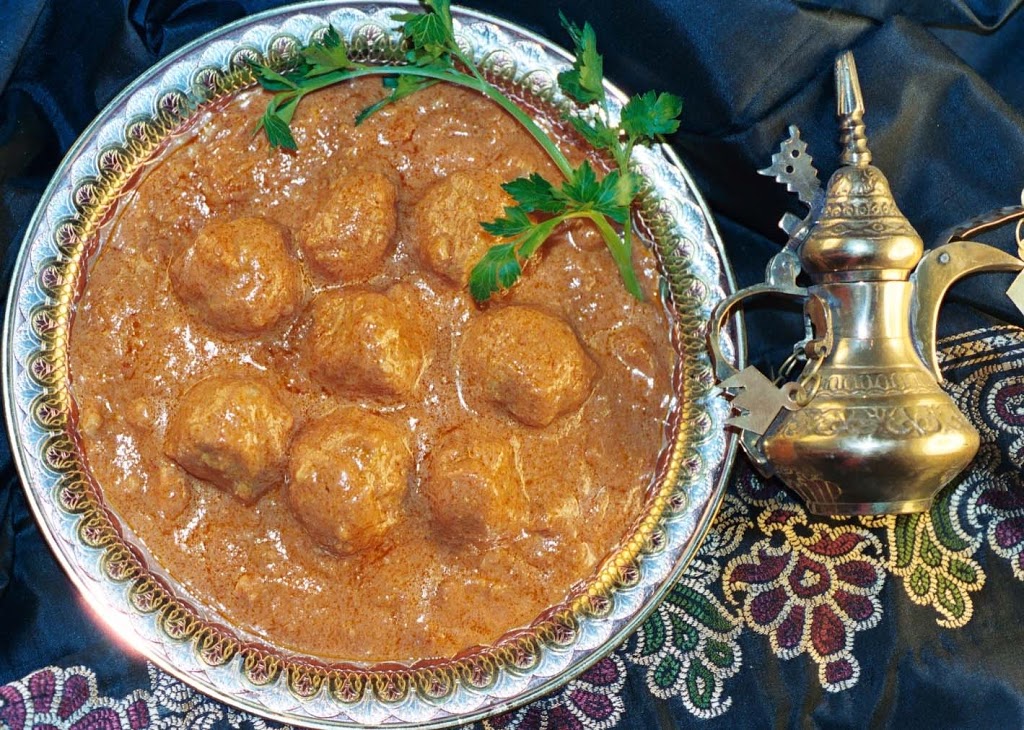
Tandoori cuisine has gained an international reputation over the centuries. Today it is popular throughout the world. Americans particularly enjoy the tandoori dishes amongst Indian food. But many of its fans don’t know its special history or its central place in Indian cuisine.
History of the Tandoor
Tandoori cooking is said to have originated in ancient India. In those days, when animals were sacrificed, they were roasted then the meat was distributed to the people as sacred gift. Ancient traders took their culinary techniques, including building the tandoori ovens with them as they journeyed to other parts of the world. When the emperors traveled, the royal chefs carried the tandoor on camel’s back, and used them for fresh, hot breads, and savory roasted birds and meats.
The Modern Tandoor Oven
Actually, tandoor ovens are simple – barrel shaped, ultra-high-heat versions heated to almost 800 degrees F and the heat fully surrounds the food, searing in the flavor and juiciness. The charcoal or fuel is at the bottom that heats the walls of the tandoor evenly. Tandoor works on similar principles as that of the oven. It functions as a natural apparatus for smoking as well.
I had a chance to visit an old-fashioned tandoor manufacturer in Delhi on my visit to India, where I discovered oven-building is clearly an art. Often made by the people of Punjab, who consider it their heritage, today’s tandoor combines both old skills and new techniques.
Some manufacturers make metal, gas-fired ovens, but clay is most common. First the high quality clay is mixed with grass and other binding agents. The mix is kneaded with hands and or feet then the workers begin building the oven from bottom up, adding clay as the oven rises – a process that gives firmness and stability. The top is turned inward, and shaped until it resembled an urn. Finally, an opening of about four to five inches is cut at the bottom for the air to circulate and to permit ashes to be removed.
Curing the oven, to make sure the naans and other breads don’t stick – comes next. To ensure a smooth finish, pureed spinach or other greens are used to coat the walls and allowed to dry overnight. Next a mixture of buttermilk, salt and oil, is rubbed all over the inside and the oven is left to dry again. Finally, the tandoor is fired in a kiln. Fuel is usually fed from the top.
The rituals of almost any barbecue remind me of the tandoor. We have a tandoor sunken deep in our backyard, it serves to bring company and friends together. I have tried my dexterity at making naan bread, slapping on the walls of tandoor and pulling them out. I always end up losing them in the fire below. Breads are difficult, and besides you probably won’t have a tandoor to work with. So here’s a set of tandoori-style recipes that get much of their authentic flavors from marinades along with helpful hints.
Cuts of Meat
In India chickens roam the poultry yard that lets you know they have a muscley texture. So, choose plump, free-range for a more authentically Indian flavor and texture. Unless suggested, the meat or poultry is always skinless. Cooking time is determined by the type of cut you’re using and not by the length of meat, poultry or fish. There are four main cuts used in a tandoori kitchen. Whole chicken, fish or leg of lamb, large pieces such as steaks, chops, cut up chicken, tikka (small tender cuts 2-inch cubes of boneless chicken breast meat or legs).
Natural Tenderizers
Tenderizing and marinating is in part a ‘cooking’ process just think of ceviche, where the fish ‘cooks’ in acidic lime juice. In Indian cuisine the tenderizers and marinades serve much the same function, allowing you to do the actual grilling at a higher temperature for a shorter time.
The most commonly used tenderizers in Indian cooking are yogurt, raw papayas, acid fruits such as lime, tamarind and vinegar. Often many tenderizers are used in combinations.
Here’s how they work:
• Yogurt: Helps to break down meat fibers and make the meat soft and succulent.
• Lime: Not only softens meat but provides a special tangy finishing touch.
• Green papaya: Contains a protein-digesting enzyme, papain that helps in tenderizing meat. Most grocers pick papayas at green-ripe stage. Ask the produce department to save you a green one.
• Tamarind: Contains tartaric and citric acids, which provide its characteristic sour taste and its tenderizing qualities.
• Vinegar: Its acetic acid acts as a softener.
The Crowning Stage – Two-Step Secret to Marinades
Whether you use your indoor oven, a tandoor, a hibachi perched on a picnic table or the finest gas grill, the secret to a classic tandoori dish is the selection of the marinade. It should enhance the taste of what you’re cooking, not overwhelm it. Remember, the marinade should be in a thick paste form, and not thin, watery or lumpy; a smooth paste adheres nicely through the marinating process and remains on the meat after roasting.
The marinade—various natural tenderizers, spices and herbs — fosters a moist texture and sweetens the smoky flavor. I prefer to use the traditional method of marinating in two stages. I don’t use salt in the first stage especially for red meats, because it releases juices from the meat, making it stringy. I first coat the meat with ingredients such as ginger and garlic. Then, in the second stage, use delicate spices, salt and yogurt. (For white meats and vegetables, salt can be used initially.)
For a better penetration of flavor from marinades, score the meat by making shallow slits or slashes in the outer surface of the meat. Occasionally rub the marinade into slits and gashes you’ve made in the meat; this massage enriches the flavor. Once the meat is in the marinade, it can be kept in the refrigerator for up to 24 hours, in glass or other non-reactive container. Bring the meat to room temperature before roasting or grilling.
Tandoori Chicken
Though this is my favorite approach to making tandoori chicken, if you are in a hurry you can certainly combine step 2 and 3 to save time.
1 good-size (3 to 3½ pound) chicken, skinned and cut into 6 to 8 pieces
1 slice of 2½ -inch thick fresh ginger
12 large garlic cloves
¼ cup fresh lime juice
2 medium onions, sliced
3 tablespoons canola or vegetable oil
2 teaspoons Sea salt
2 teaspoons ground cumin
2 teaspoons sweet paprika
½ teaspoon cayenne
½ teaspoon ground cinnamon
12 green cardamom pods, husked and ground
¼ teaspoon ground cloves
1 cup plain yogurt
A beautiful bunch of cilantro
Several wedges of lime
1. Rinse the chicken pieces, pat dry and score the meat by making slits or slashes at intervals. Place in a large bowl.
2. Combine the ginger, garlic and lime juice in a blender. Puree until as smooth as you can get, stopping to scrape down the sides of the bowl a couple of times. Transfer to a small bowl. Rub this mixture thoroughly onto the chicken, pushing the marinade into the incisions and coating chicken pieces evenly. Cover and set aside at cool room temperature for 1 hour, or refrigerate for up to 2 hours.
3. Combine the onion, oil, salt, spices and yogurt in a blender. Puree until smooth. Transfer to a medium glass bowl. Pour this onion-spice mixture over the chicken and rub it in thoroughly. Cover and refrigerate for at least 6 hours. Turn the chicken pieces occasionally in the marinade.
4. Prepare a charcoal fire letting the coals burn until they are covered with a gray ash and are medium-hot. Position the grill grate about 8 inches above the coals and lightly oil. Lay the chicken pieces on the hottest portion of the grill, cover, and let them cook about 10 to 12 minutes on one side, then turn and finish on the other side 8 to 10 minutes more or until tender. To cook the chicken in a conventional oven, preheat the oven to 550 degrees F. Lay the chicken pieces in a single layer in a shallow roasting pan. Roast chicken until it is tender and still juicy with no trace of pink near the bone for 25 to 30 minutes, turning once.